
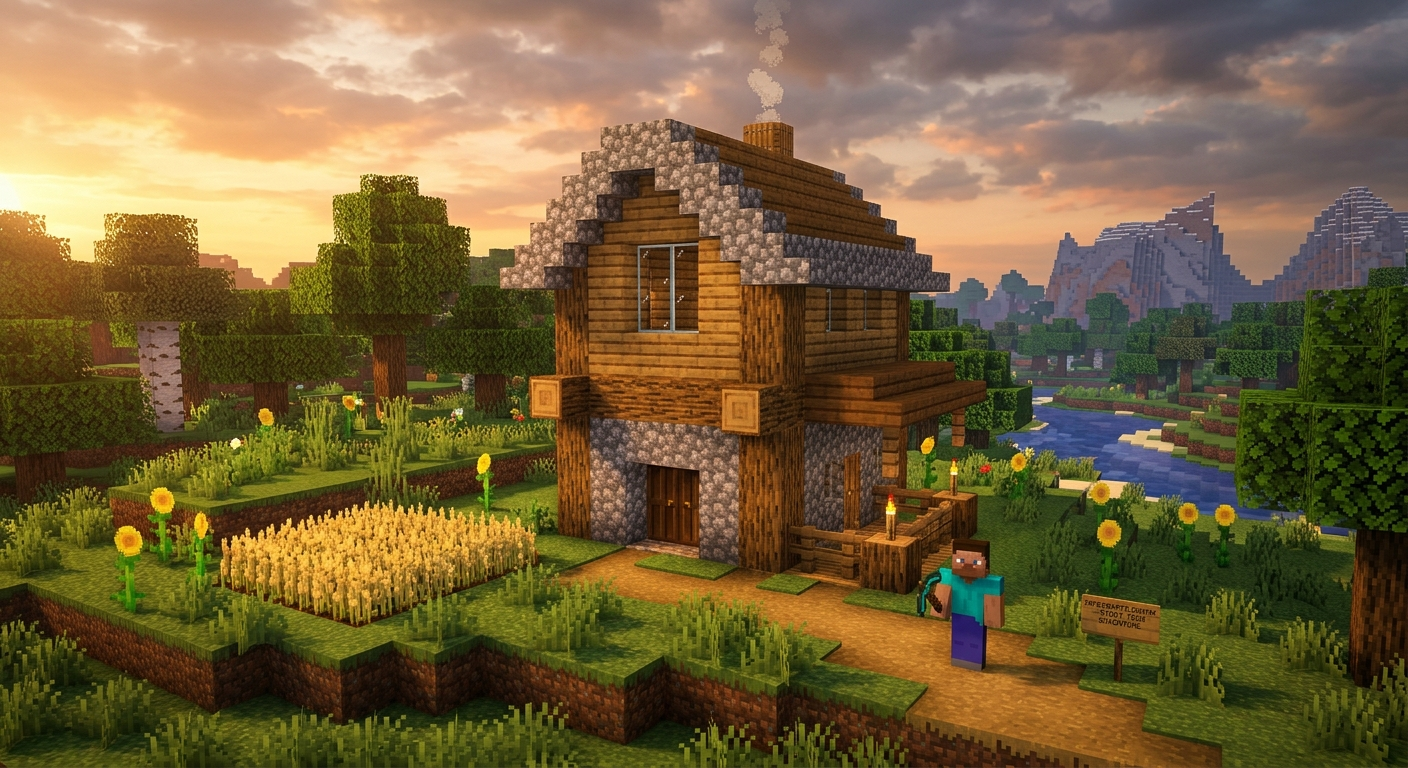
The Ultimate Guide to Building Your First Minecraft Starter House
Surviving your first few days in a fresh Minecraft world can be a thrilling yet dangerous experience. Hostile mobs like skeletons and zombies spawn at night, making a secure base absolutely essential for survival in the game.. Having a safe location allows you to sleep through the night, process raw ores, and store gathered materials without constant interruption.
Building a starter home does not mean you have to settle for an ugly dirt hut. By combining basic resources and applying smart design principles, you can craft a functional sanctuary that looks fantastic and keeps you completely safe.
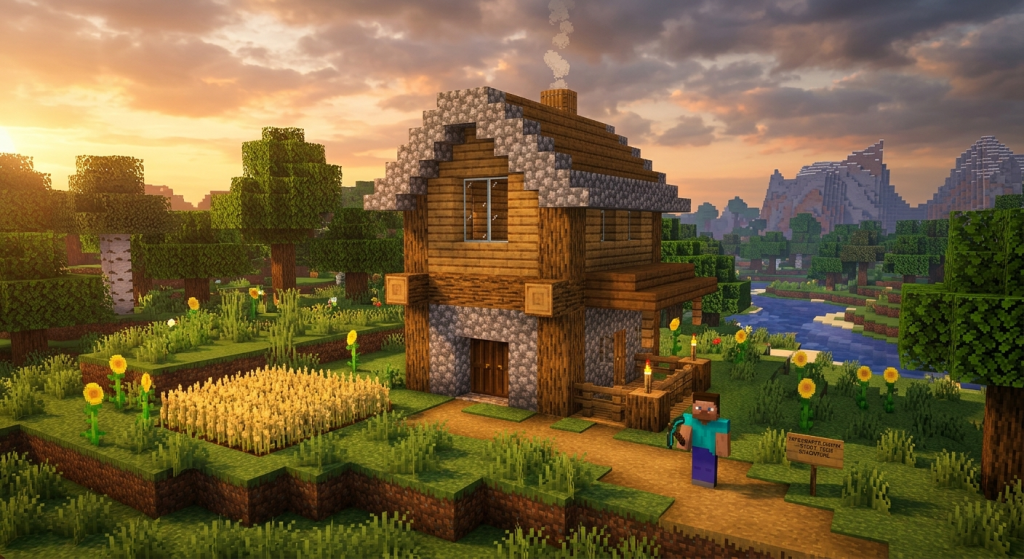
Essential Materials to Gather
- Oak or Spruce Logs and Planks: Readily available in most spawn biomes, wood provides structural framing and warm visual textures for your walls.
- Cobblestone: Excellent for foundations and roofing trim, providing fire protection and durability against mob attacks.
- Glass Panes: Provide clear visibility so you can check outside conditions and sunlight levels safely from inside your home.
- Torches and Fences: Crucial for keeping your living area well-lit and establishing a secure protective boundary around your front door.
3 Key Rules for an Efficient Starter Base
- Organize Your Utility Workspace: Keep your crafting table, furnaces, and double chests together in a clean, accessible layout to streamline crafting and smelting operations.
- Prevent Internal Mob Spawns: Maintain high light levels across every block floor. Place torches liberally along walls, floors, and surrounding rooftops.
- Plan for Future Expansion: Build your starter base with room to expand downwards. Integrating a direct staircase into a subterranean mine or basement saving time as your resource needs scale up.
Head over to minecraftts.com.mx for more building tutorials, survival guides, and expert tips to master your Minecraft adventures!